RadiOS part 2
Overview
See RadiOS part 1.
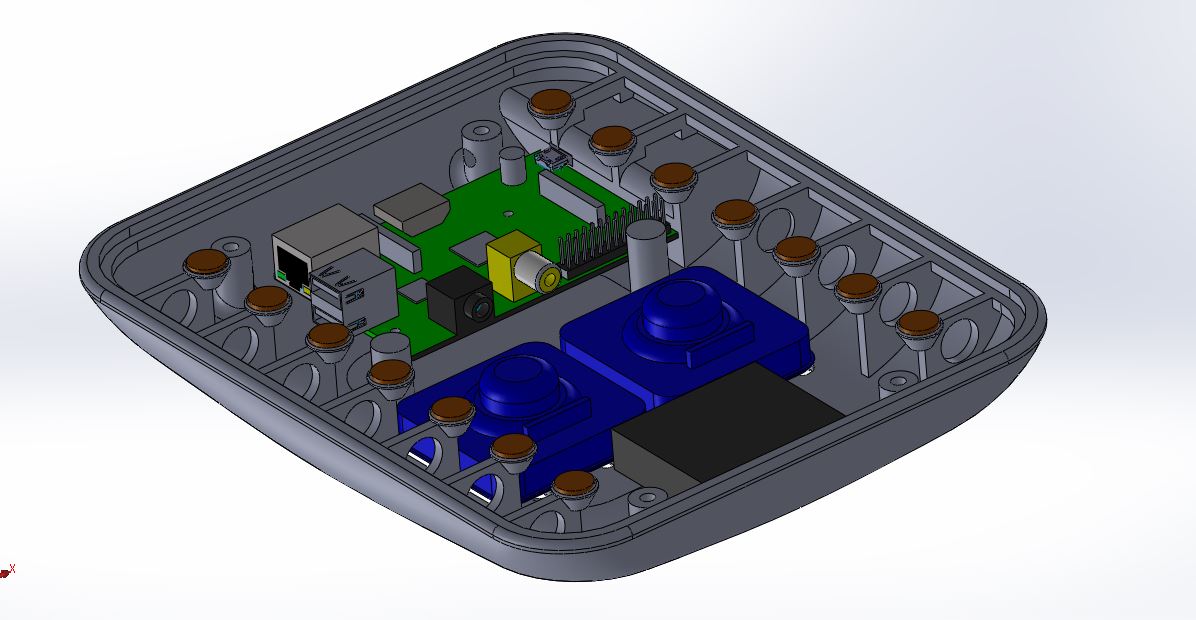
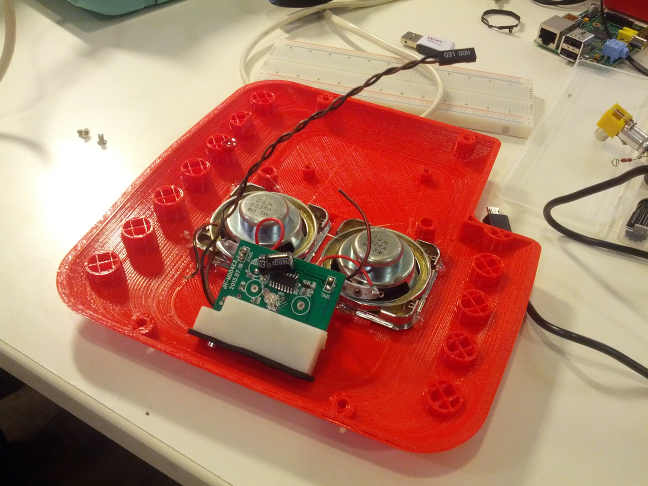
So I started making a prototype to figure out if I could “sense” both selections with GPIO pins, while the designer started modeling and rendering suggestions for the physical design. The solution chosen was to first set all volume control pins to high, and check which channel control points registered as on, then reverse (control points high, check volumes).
Sound
For sound we tore down a Music Angel portable speaker. It gave us two speakers, an amplifier running on 5V and a battery which we threw away. The built in soundcard gave horrible sound under certain conditions, so a cheap USB soundcard was used instead.
Case
We wanted to try both a 3D-printed version and a CNC’ed one. A print at Shapeways would cost us ~$200, plus shiping and tax. We got one printed localy for ~$80. It’s has yet to be used. A local CNC person wanted ~$270. The case we’ve used in the final build is hand made of wood.
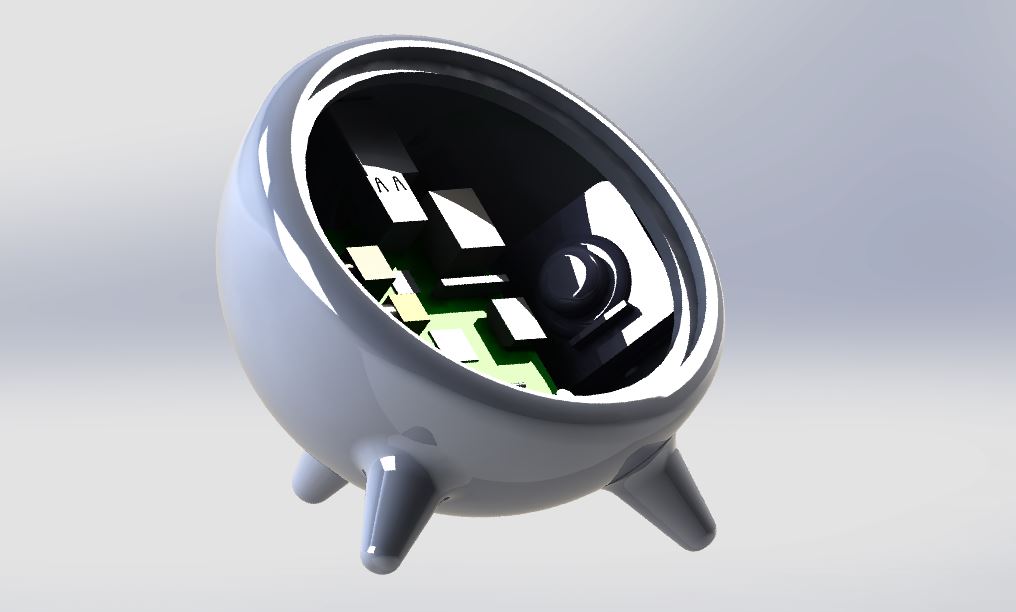
Plastic case
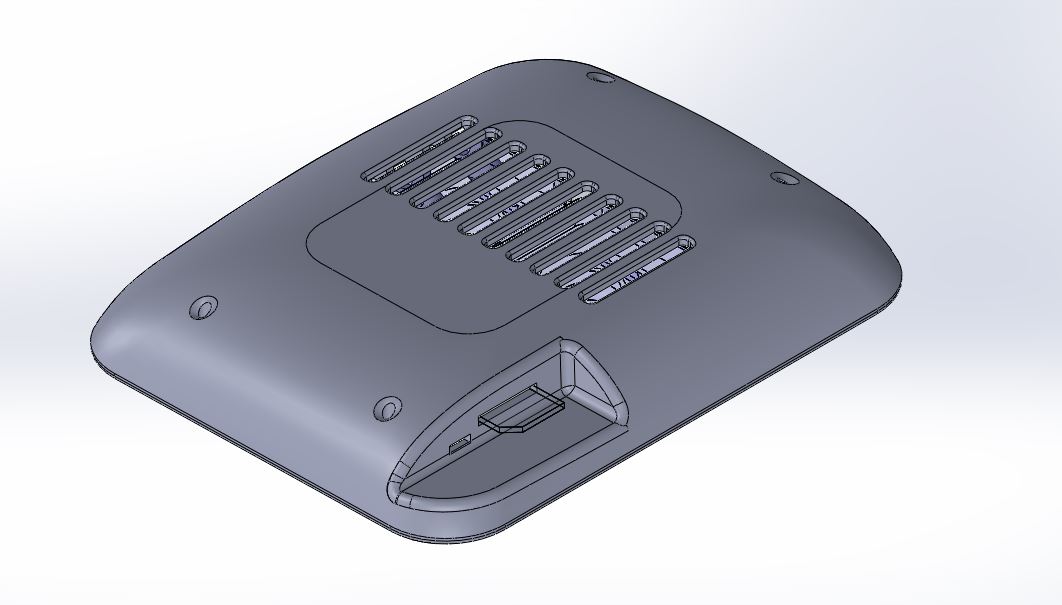
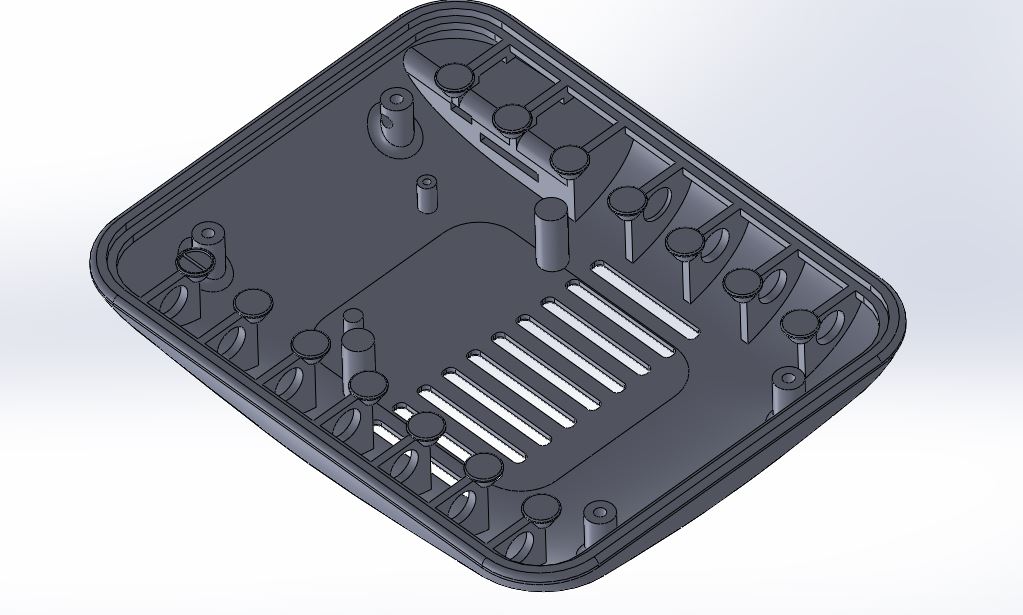
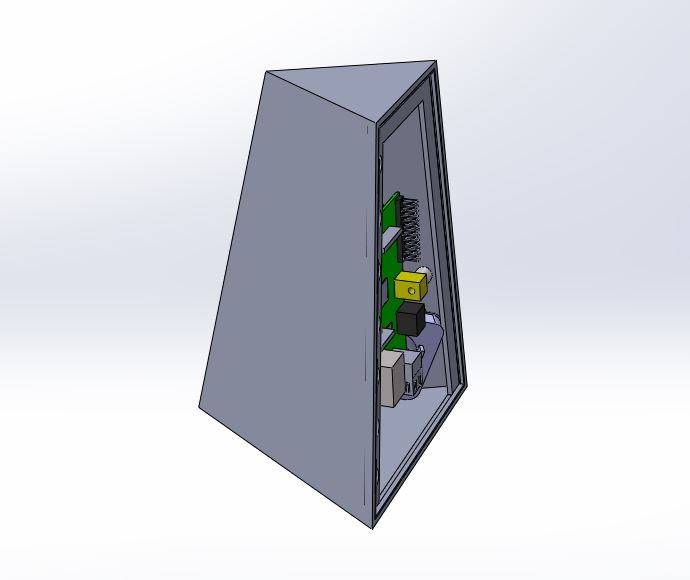
Renderings of other variations
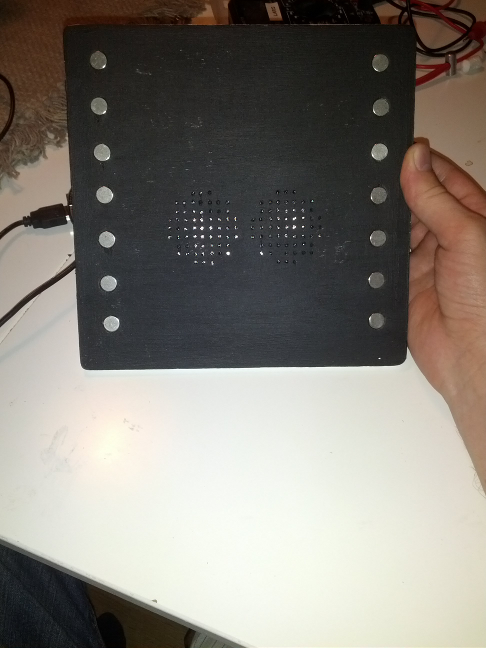
Prototype

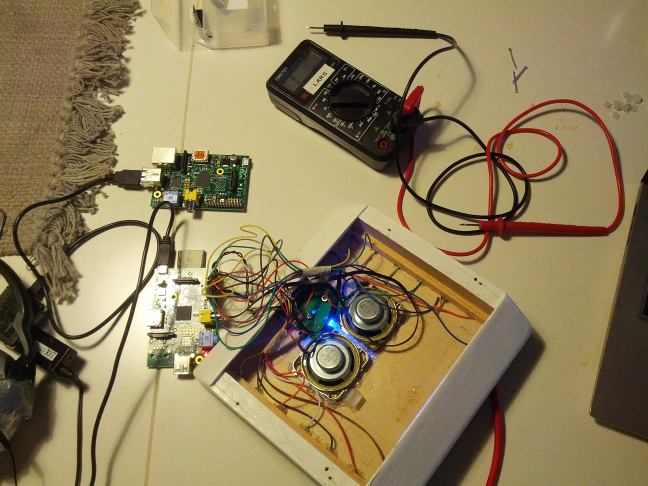
Build 1
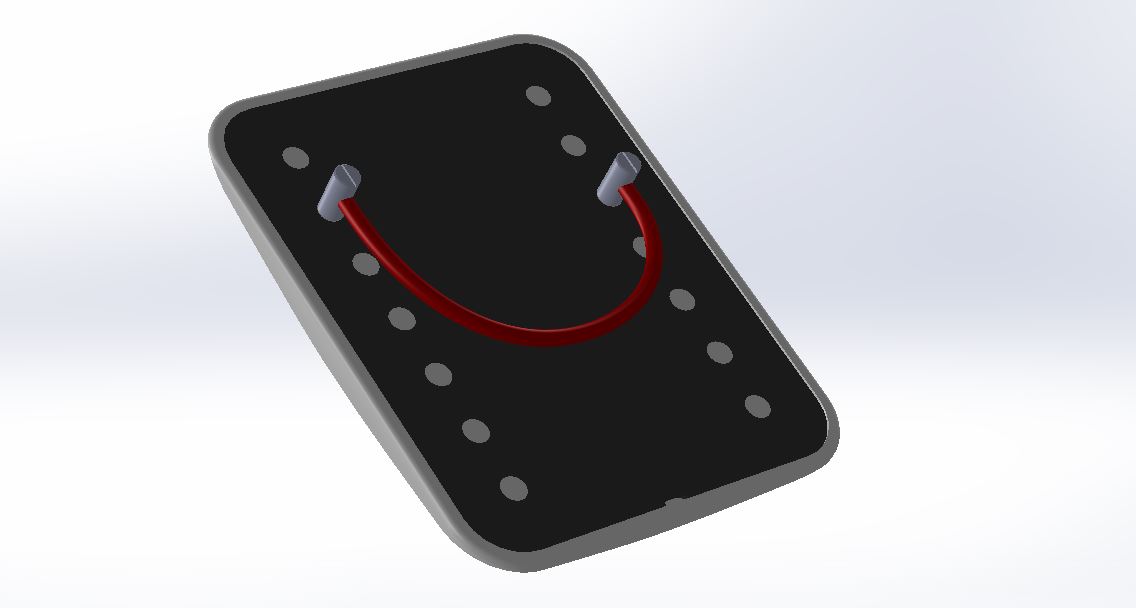
We chose to paint the front in black board paint, to allow easy change of channel labels and a personal touch.
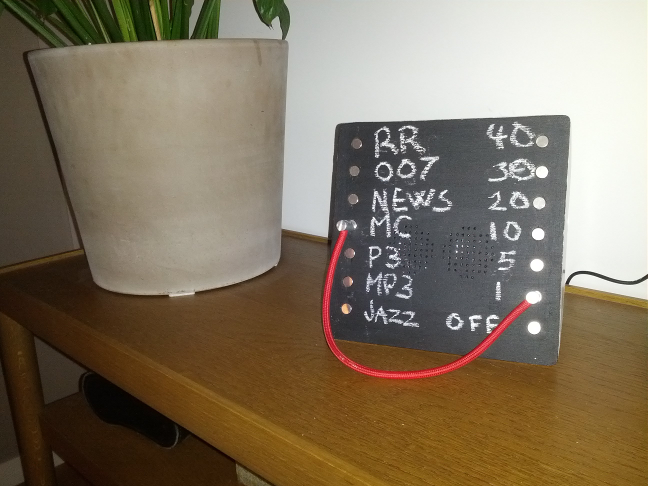
Other builds may have a white board front, or be something very different.
Conclution so far
It’s an interessting UI, and people want to touch it. However programming the channels and first time setup is hard. Also the Pi or musicbox is very slow to start streaming. This kind of breaks the fun of it.
To be continued…