RadiOS part 1
Overview
In my opinion most radios, especially internet radios, have horrible interfaces. Small buttons, small displays, often touch, often several functions for each button.
So Erik and I set out to design a new, better radio for ourselves. Our main requirements were ease of use and a very physical UI. Something you’d want to touch and play with.
Platform
The Raspberry Pi is our platform of choice at the moment, so we have some physical restrictions and long boot time.
Physical designs
The cone
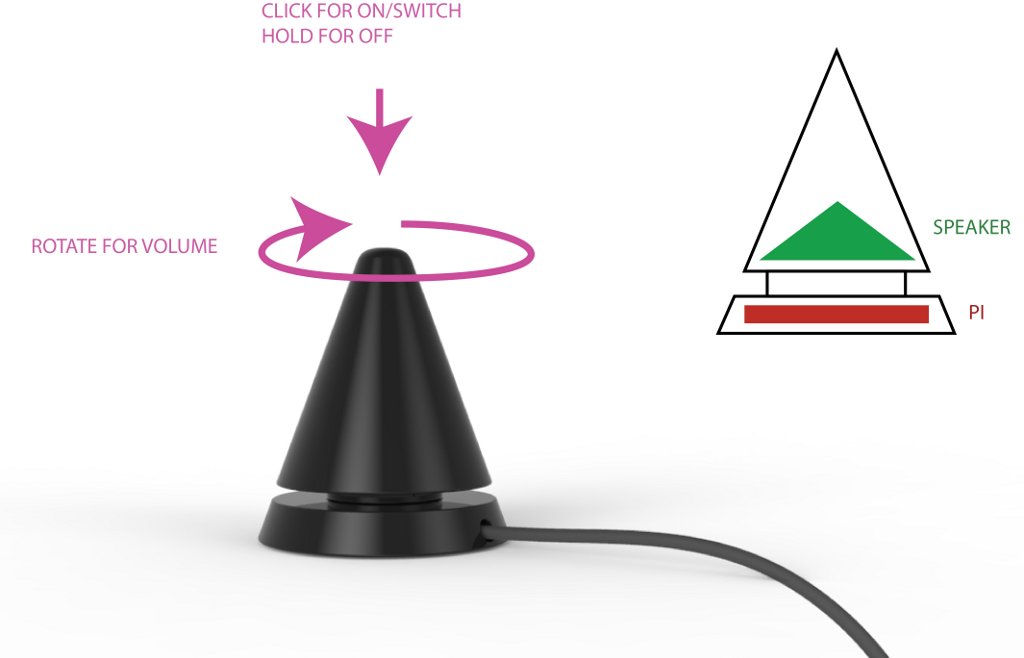
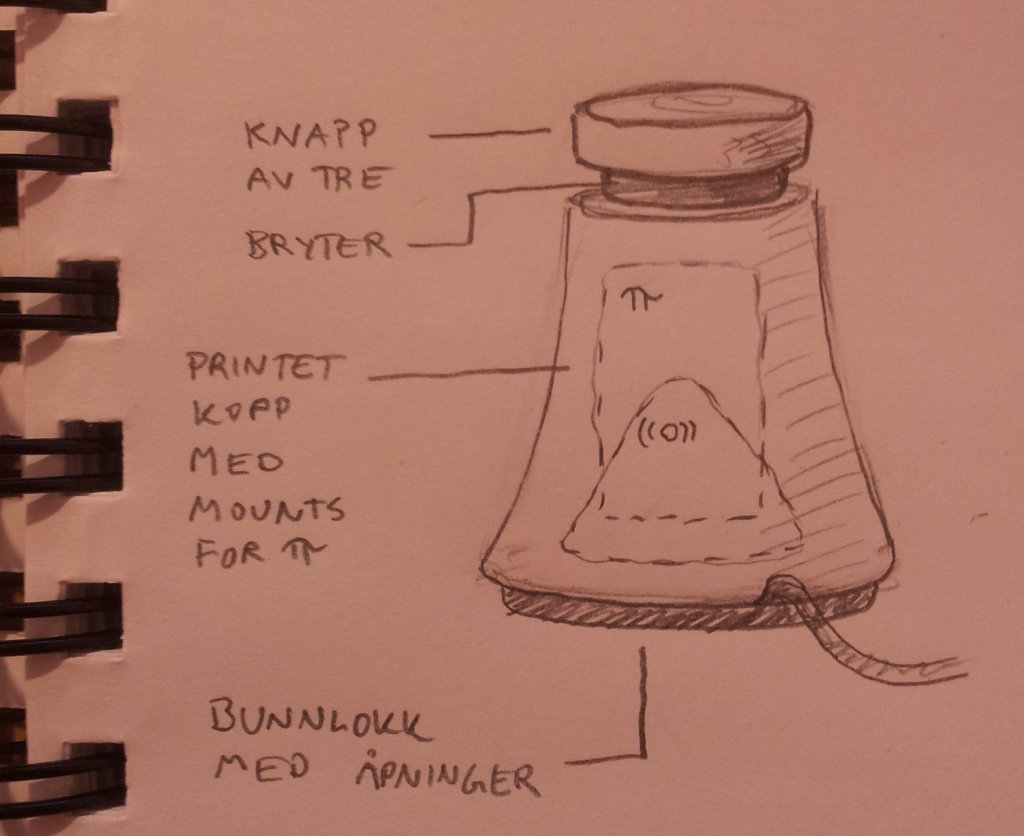
Our first idea was a cone that would rotate for volume and press down for on, next channel, off. A very basic look, and extreamly easy to use. What killed this was the size it would need to be to accomodate an rPi and the mechanical complexity of making the twist and click switch.
Brainstorming

So we hit the whiteboard. Some of the designs from our brainstorming:
- A vertical rod with the radio sliding up/down for volume.
- A body-like shape hanging from the wall.
- A horizontal rod, where you pick up the radio and hang it on the position of the channel you want.
- Magnets! Anything with magnets!
The chosen design
Inspired by the switch boards of early phone systems, we chose to make rows of connections where you’d short two rows to make two selections at once. One row for the channels, one for the volumes.
We went with magnets instead of jacks to make it look more modern and be quick to use.
Software
Netradio functionality can be solved in so many ways on the command line. From the most basic:
- cvlc url / aplay url / mplayer url
The medium:

The advanced:
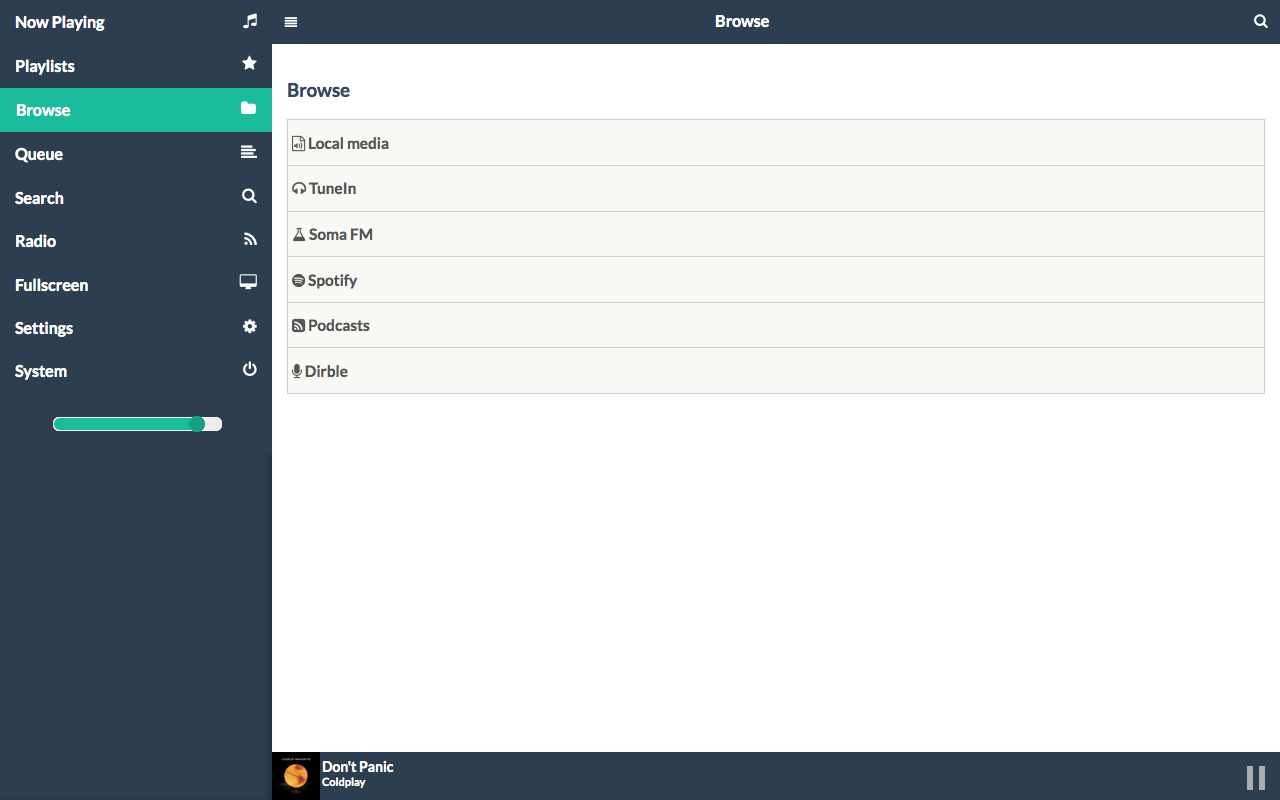
The latter one is a brilliant use of the rPi. In short it includes out of the box support for Spotify, Google Music, Last.fm, internet radio, SoundCloud, local files, files from network shares. Controlled by a webUI or any existing MPD app.
We chose Musicbox.
To be continued…